What is HDR? How do you take these kinds of images? What is required to shoot such image? Read on and learn a few tricks on shooting HDR.
" HDR is a range of methods to provide higher dynamic range from the imaging process. Non-HDR cameras take pictures at one exposure level with a limited contrast range. This results in the loss of detail in bright or dark areas of a picture, depending on whether the camera had a low or high exposure setting. HDR compensates for this loss of detail by taking multiple pictures at different exposure levels and intelligently stitching them together to produce a picture that is representative in both dark and bright areas. " ~Wikipedia~
What is HDR?
HDR stands for High Dynamic Range.
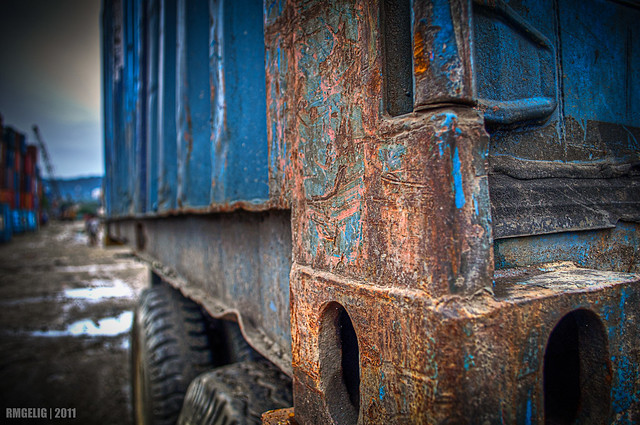
Simply put, HDR shows the bright, mid, and dark areas of an image. It is a way to mimic how our eyes sees the world. In HDR, the image can be processed exaggeratedly thus making the image more like a painting. Nevertheless, HDR is like an art.
How to shoot HDR?
To make an HDR image, you'll need to have 3 images of the scene at different exposures. This is where the auto bracketing feature of dslrs are used. Typically you'll need a correctly exposed image, an overexposed image and an underexposed image.
Here are some tips
Set your camera to shoot continuously or burst shot. This needs to be set so as to avoid or minimize any motion blur, especially if your shooting with objects that may sway with the wind, like trees or plants.
If your camera has a mirror lock or delay exposure, activate it. This reduces blur from shutter movement.
If possible, mount your camera on tripod to minimize blur, especially indoors.
Use a shutter cord trigger to further minimize blur from pressing the shutter button.
Now for the different image exposure:
Auto way
Set your auto bracketing to bracket exposure (AEB) and set it at 2EV interval. Some cameras offer features like the number of images you'd like to bracket, but the default is 3 images. You may go for more than 3, if your camera allows it, but just start with 3.
Manual way
If your camera doesn't offer an auto bracketing feature or you just want to manually adjust the exposure, then you may set the exposure manually. You may: 1.) set exposure by adjusting the EV (exposure value) to +2EV and -2EV and using aperture priority mode; or 2.) manually adjust the shutter speed to 2 stops up and 2 stops down. Of course, you can't use the continuous mode when doing manual adjustment.
Now take the 3 differently exposed images. Check to see if you got: 1 correctly exposed image, 1 underexposed image and 1 overexposed image.
These 3 images will be used to process the HDR image by using an HDR rendering software like Photomatix, HDR Efex or in Photoshop. Now you are ready for processing.
HDR - Part 2: HDR Software
HDR - Part 3: Importing and Processing
These 3 images will be used to process the HDR image by using an HDR rendering software like Photomatix, HDR Efex or in Photoshop. Now you are ready for processing.
HDR - Part 2: HDR Software
HDR - Part 3: Importing and Processing
No comments:
Post a Comment